Firing

TEXAS FIRING

“Candling the Kiln” (Heating it up slowly)

“Candling the Kiln” (Heating it up slowly).

When the forecast is 108 degrees, it’s best to arrive at the studio at the crack of dawn to load the kiln! Before the sun beams into the kiln yard, we have to get the kiln loaded, which also means building up the shelving system. I wanted to share Kent's photo before the last firing because it shows how we stack the kiln. With a kiln like ours, you rebuild the furniture system before most firings. We first stacked rows of cordierite shelves in the back and later built the front. You always use posts in three places to support each shelf and build the shelving up to ensure you don’t waste any firing space. In the photo, you can see that we stack the shelves closely together for plates and further apart for taller pots.

Our kiln is constructed of high-temperature refractory brick with a steel jacket. Kent had to replace all the bricks a few years ago and build a new sprung arch. The kiln now has nine-inch thick walls, which leads to slow cooling and more crystal formation in the glazes.

Kent is in the habit of watching the firing closely and adjusting airflow and fuel levels as needed. We also have two “cone packs” to determine the heat levels inside. The packs are the groups of three little triangles in the picture below.

This year, we have been averaging 3 or 4 firings per month. We usually put 200-250 pots in each firing, but that number varies depending on the pots' size. Below are some pictures from our firing this past week.

Wine Goblets for Uncommon Goods

Wine Goblets for Uncommon Goods

This past firing had 100 goblets because Kent will be selling these through Uncommon Goods. Look for more about that soon! We also had several plates in there since Kent continues to make individual dinner sets for sale in our shop, Blue Sage Pottery on 6th, and in our Etsy store. Here are some recent plates fired with a Shino glaze. This glaze varies from white to silver, with iron spots and occasional orange on the rims. It is a subtle complement to many different types of cuisine, and we have a set of these at home that we use frequently for big salads and pasta dishes. Please stop by the gallery to check out our newest stoneware pottery and dinnerware or view the latest in our online shop!

Shino Plates

Shino Plates

visit the gallery to see the latest pots


COLORS OF A POT

“How do you get your colors?”  This is a question we get a lot from people new to pottery collecting.  This question is a lot like asking, “why is the sky blue?”.  There is a short and a long answer.  Like learning about the color of the sky, the long answer leads one to deepen their understanding of science and art.  In today’s blog post, I hope to give anyone interested in our pottery more knowledge about the nature of glazes.  To understand how we get the colors in our pottery, one needs to understand what glazes are, how glazes are made, and how the kiln's firing affects the colors.  

Kent’s colorful platter bowl from the last firing!

Kent’s colorful platter bowl from the last firing!

What is a glaze?

A glaze begins as a unique blend of raw minerals mixed to a paint-like consistency.  The colors on our pots are glazes applied to bisque ware, pots that have already been fired to about 1753° or Cone 08, and then fired to 2381°, Cone 10, or even hotter! (A cone is a unit of measurement that potters use to determine the temperature of the firing). In the second firing, the applied glaze melts and bonds to the pot, becoming a vitreous glass-like surface that fuses onto the clay. 

These are cone packs that we make for each glaze firing to monitor the temperature.  We watch the cones melt and bend through the spyholes in the kiln.

We make cone packs for each glaze firing to monitor the temperature. We watch the cones melt and bend through the spyholes in the kiln.

How are glazes made?

Glazes are made by weighing out dry minerals and mixing them together following recipes.  Each recipe includes at least a glass, a clay, and a flux, which lowers the melting temperature of the glaze mixture.  Most recipes include more than one of each and also include minerals that opacify or color the mature glaze. 

A glaze recipe is typically written as a 100 gram batch.  100 grams is a small amount of glaze that potters use to make “test tiles”.  After lots of experimentation to get the desired glaze, we mix larger glaze batches for our studio. Because we dip-glaze at Blue Sage Pottery, we have to make at least 10,000 gram batches of each color.  

Dip-glazing a mug in a 10,000 gram of batch of glaze. This glaze will actually be red after it is fired!

Dip-glazing a mug in a 10,000 gram of batch of glaze. This glaze will actually be red after it is fired!

“Where do you get your glazes,” is another question we often hear in the gallery.  At Blue Sage Pottery, we mix our glazes using a few popular glaze recipes, but mostly our recipes, that we have developed over twenty years of pottery making.  Some potters use commercially prepared glazes or glaze mixes that they purchase from ceramic suppliers, but we prefer to control our process and finished product.  Our recipes come from both intentional experimentation and the cultivation of happy accidents!  Glaze chemistry and calculation are part math, science, and art.  It is probably the closest activity to medieval alchemy that exists today.  We have a lot of fun experimenting with new colors and finishes!


How does the firing affect the color?

The first experience for most potters is to fire their glazed work in an electric kiln, and the results are generally less than exciting.  After a few classes, the lucky pottery student gets to fire in a gas-fueled kiln in reduction. As we progressed from students to professionals, Kent and I began to understand that the amount of oxygen in the kiln and the firing atmosphere are the biggest factors in how an average glaze becomes excellent. Many firings have led to the ability to regulate the kiln's atmosphere and allow us to achieve the desired colors consistently!

Kent has just finished the hard work of loading the kiln and is getting ready to fire in this photo!

Kent has just finished the hard work of loading the kiln and is getting ready to fire in this photo!

We generally fire our gas kiln as an oxygen-deprived or reduction atmosphere resulting in some awesome reds and purples.  Using an iron red glaze rather than a copper red will create a more oxygen-rich environment.  Different glazes need different amounts of oxygen to achieve their rich colors. The colors of our pots depend on the minerals added to the glaze during mixing and the amount of oxygen in the final firing.

Can you eat off the pots?

Another common question from our customers is, “Can you eat off of these?”  Yes!  We only use food-safe glazes that have been fired to the proper temperature.  Our hand-made glazes are lead-free and barium-free.  You can use them in the microwave and dishwasher, making incorporating our pottery into your daily routines easy!  Coffee anyone?

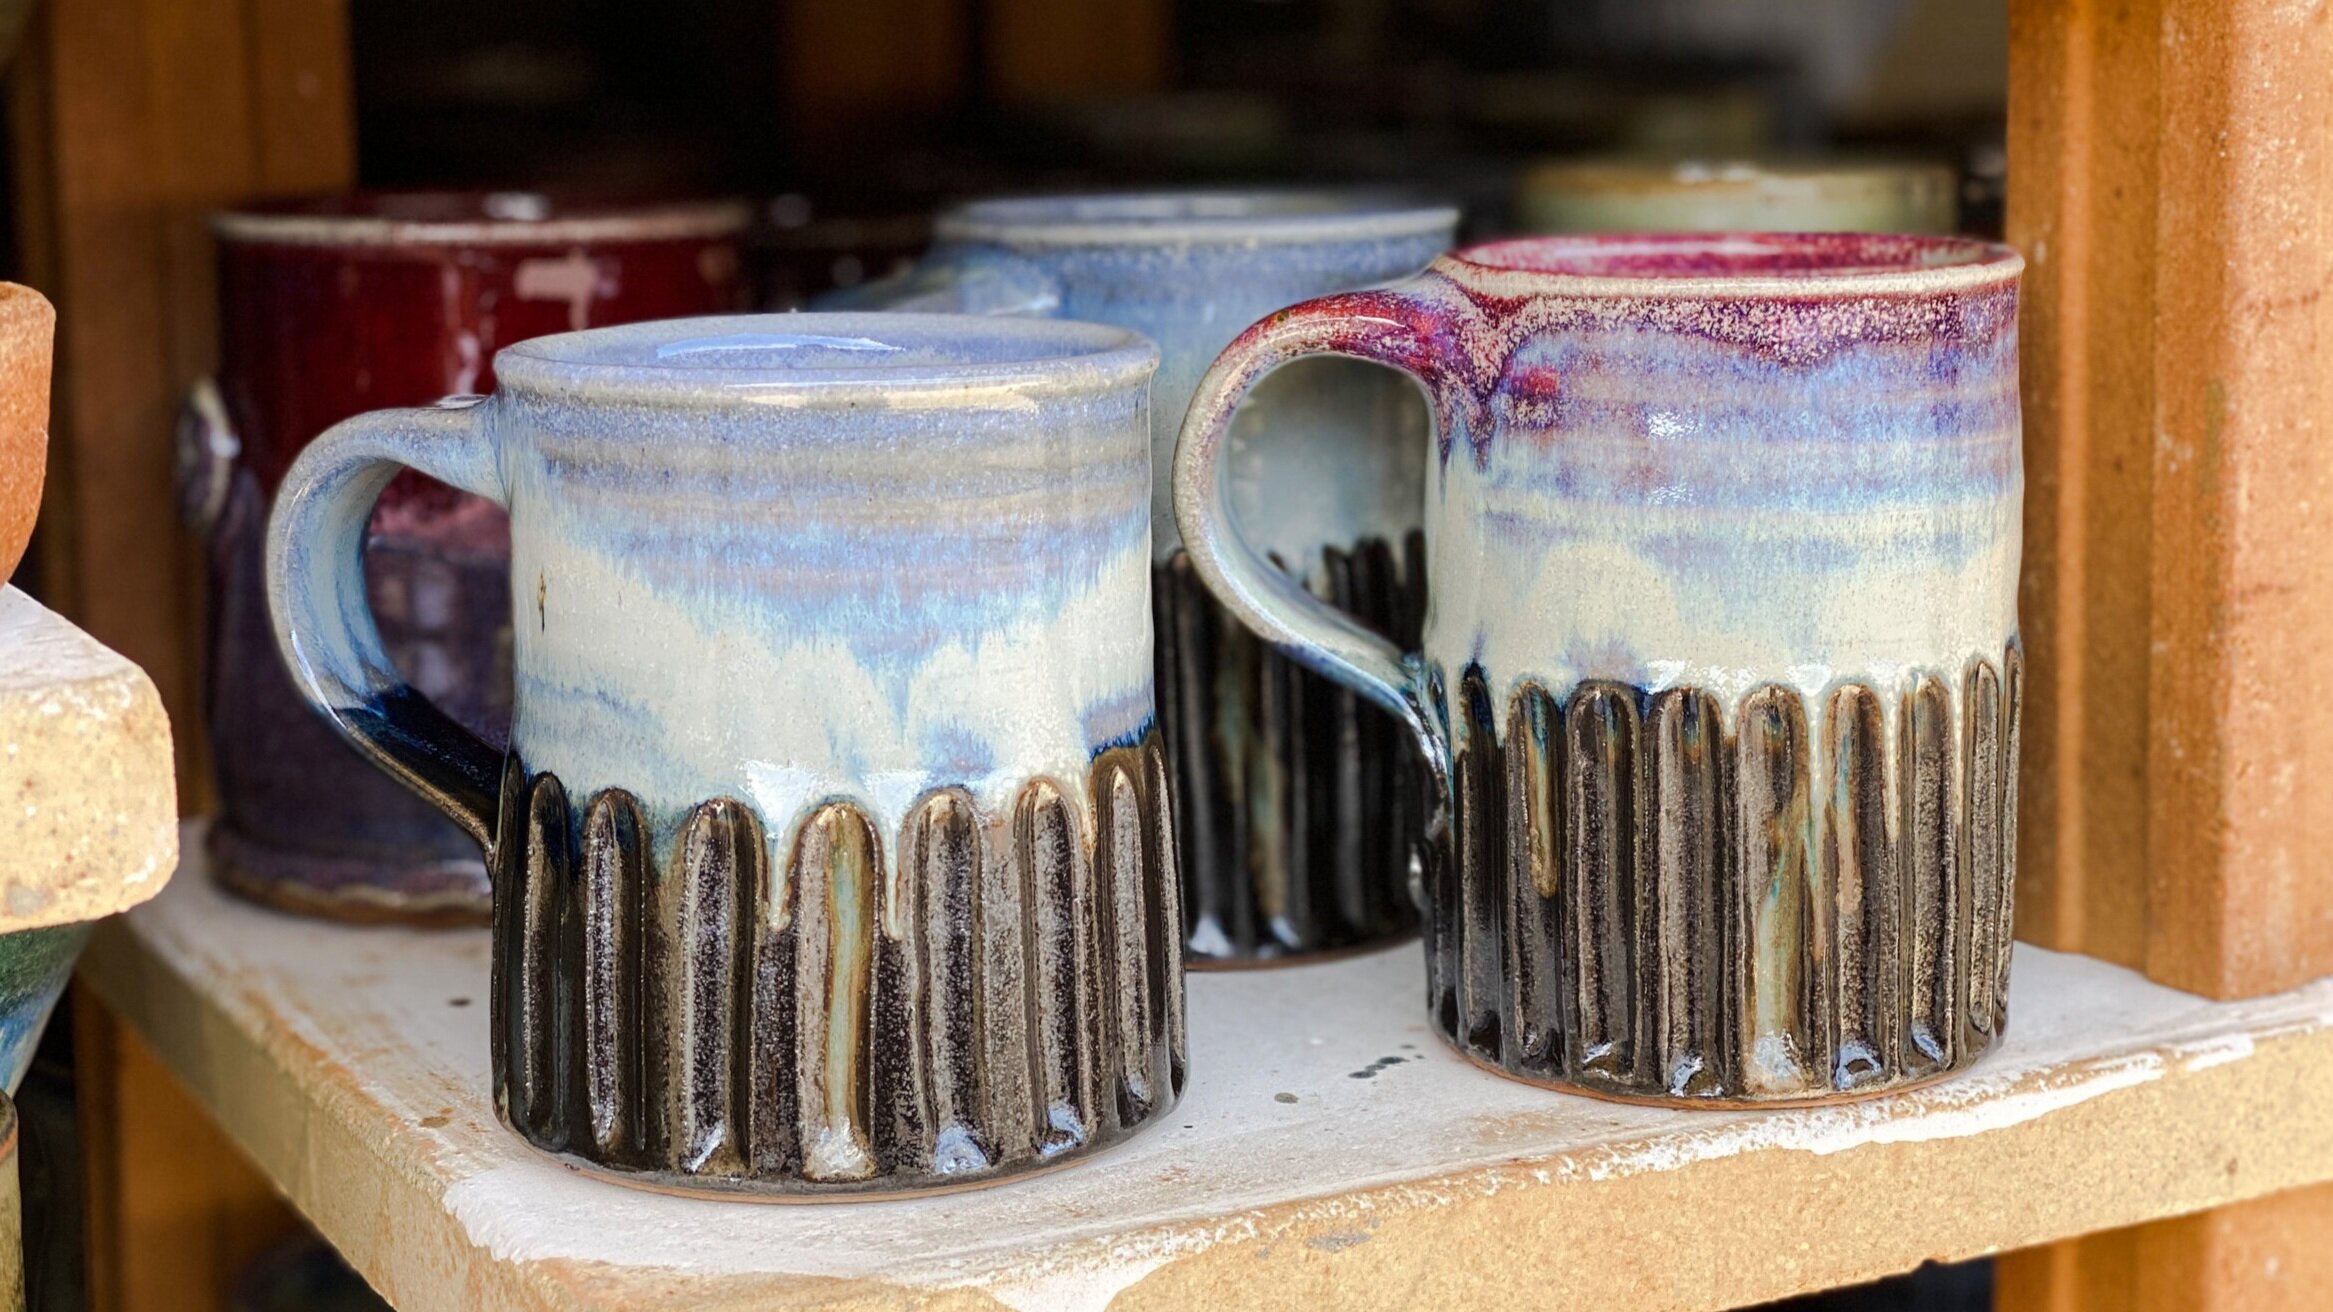
These mugs are still warm to the touch!  In this photo we are letting the clay cool, so we can unload the kiln.

These mugs are still warm to the touch! In this photo, we are letting the clay cool so that we can unload the kiln.

There is a lot more to glazes, but hopefully, this post answers the questions most commonly asked by our collectors. 

try out one of our pots